Let me start off by disclaiming that I am not a professional painter at all. This was my first project in turning a regular white cabinet into an old, antique-ish look. Buying cabinets that already have the distressed finish are very expensive. This easy DIY tutorial costs a fraction of the price of manufactured cabinets.
I started out by going to my local paint store and buying up all the supplies I needed to get started. For this project I needed the following:
- Sponges
- paint brush
- white latex gloves
- glaze (I used aged oak)
- sand paper
Supply cost: $30.00
I started out by using the sand paper to rough out the inner edges of the cabinet. I used a medium level sand paper and just scuffed and scratched until I felt the roughness texture appear. 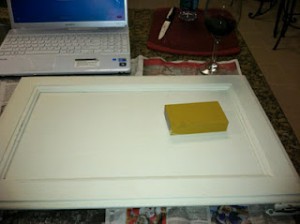 Next, I applied the glaze onto the cabinet with a pretty thick coat for about 3 minutes. This stuff dries quickly so don’t leave it on too long or it won’t wipe off easily. To get more of a undone look, I stroked the paint brush in several different directions.
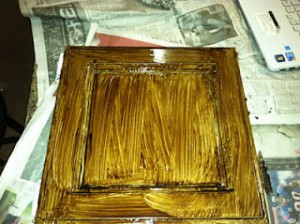 After about 3 minutes of sitting, I wiped off half of the glaze to get a feel for what it looked like. If you don’t like the look, or if you want to make it darker, re-glaze it and let it sit an additional couple of minutes. Here is what mine looked like with a second coat of glaze.
 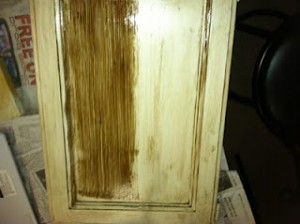 I was happy with the look so I proceeded to wipe off the second half. I did go back around the corners with my glaze to get a darker look just around the inside edges.
And that is it! Simple and easy to do. You really cannot mess this project up. The more “undone” the cabinet is, or any furniture you are distressing, the better. 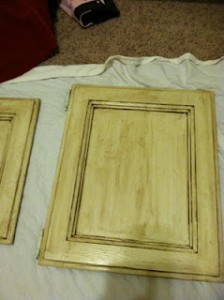
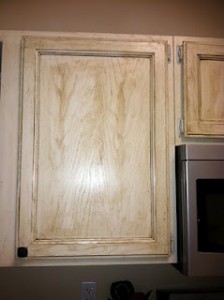
Let them dry overnight or at least for 24 hours before hanging them. Here is the finished project up and ready for use!
Check back on our DIY and HOW TO sections for more arts and craft projects.
Speak Your Mind